
How to use DinMo to connect Snowflake to Batch?
First step is to ensure that Snowflake is already configured as a source in DinMo, and Batch has been added as a destination and that the destination target is already set up.
If needed, you can have a look at our documentation.
Ensure that you have already created the segments that you wish to sync to Batch in DinMo. If not, go to the Segments tab, click "New Segment," and create them one by one with the appropriate rules.
Navigate to the Activations tab, and click "New Activation" in the upper-right corner of the screen.
Select the type of segment you wish to activate, here audiences (called users).
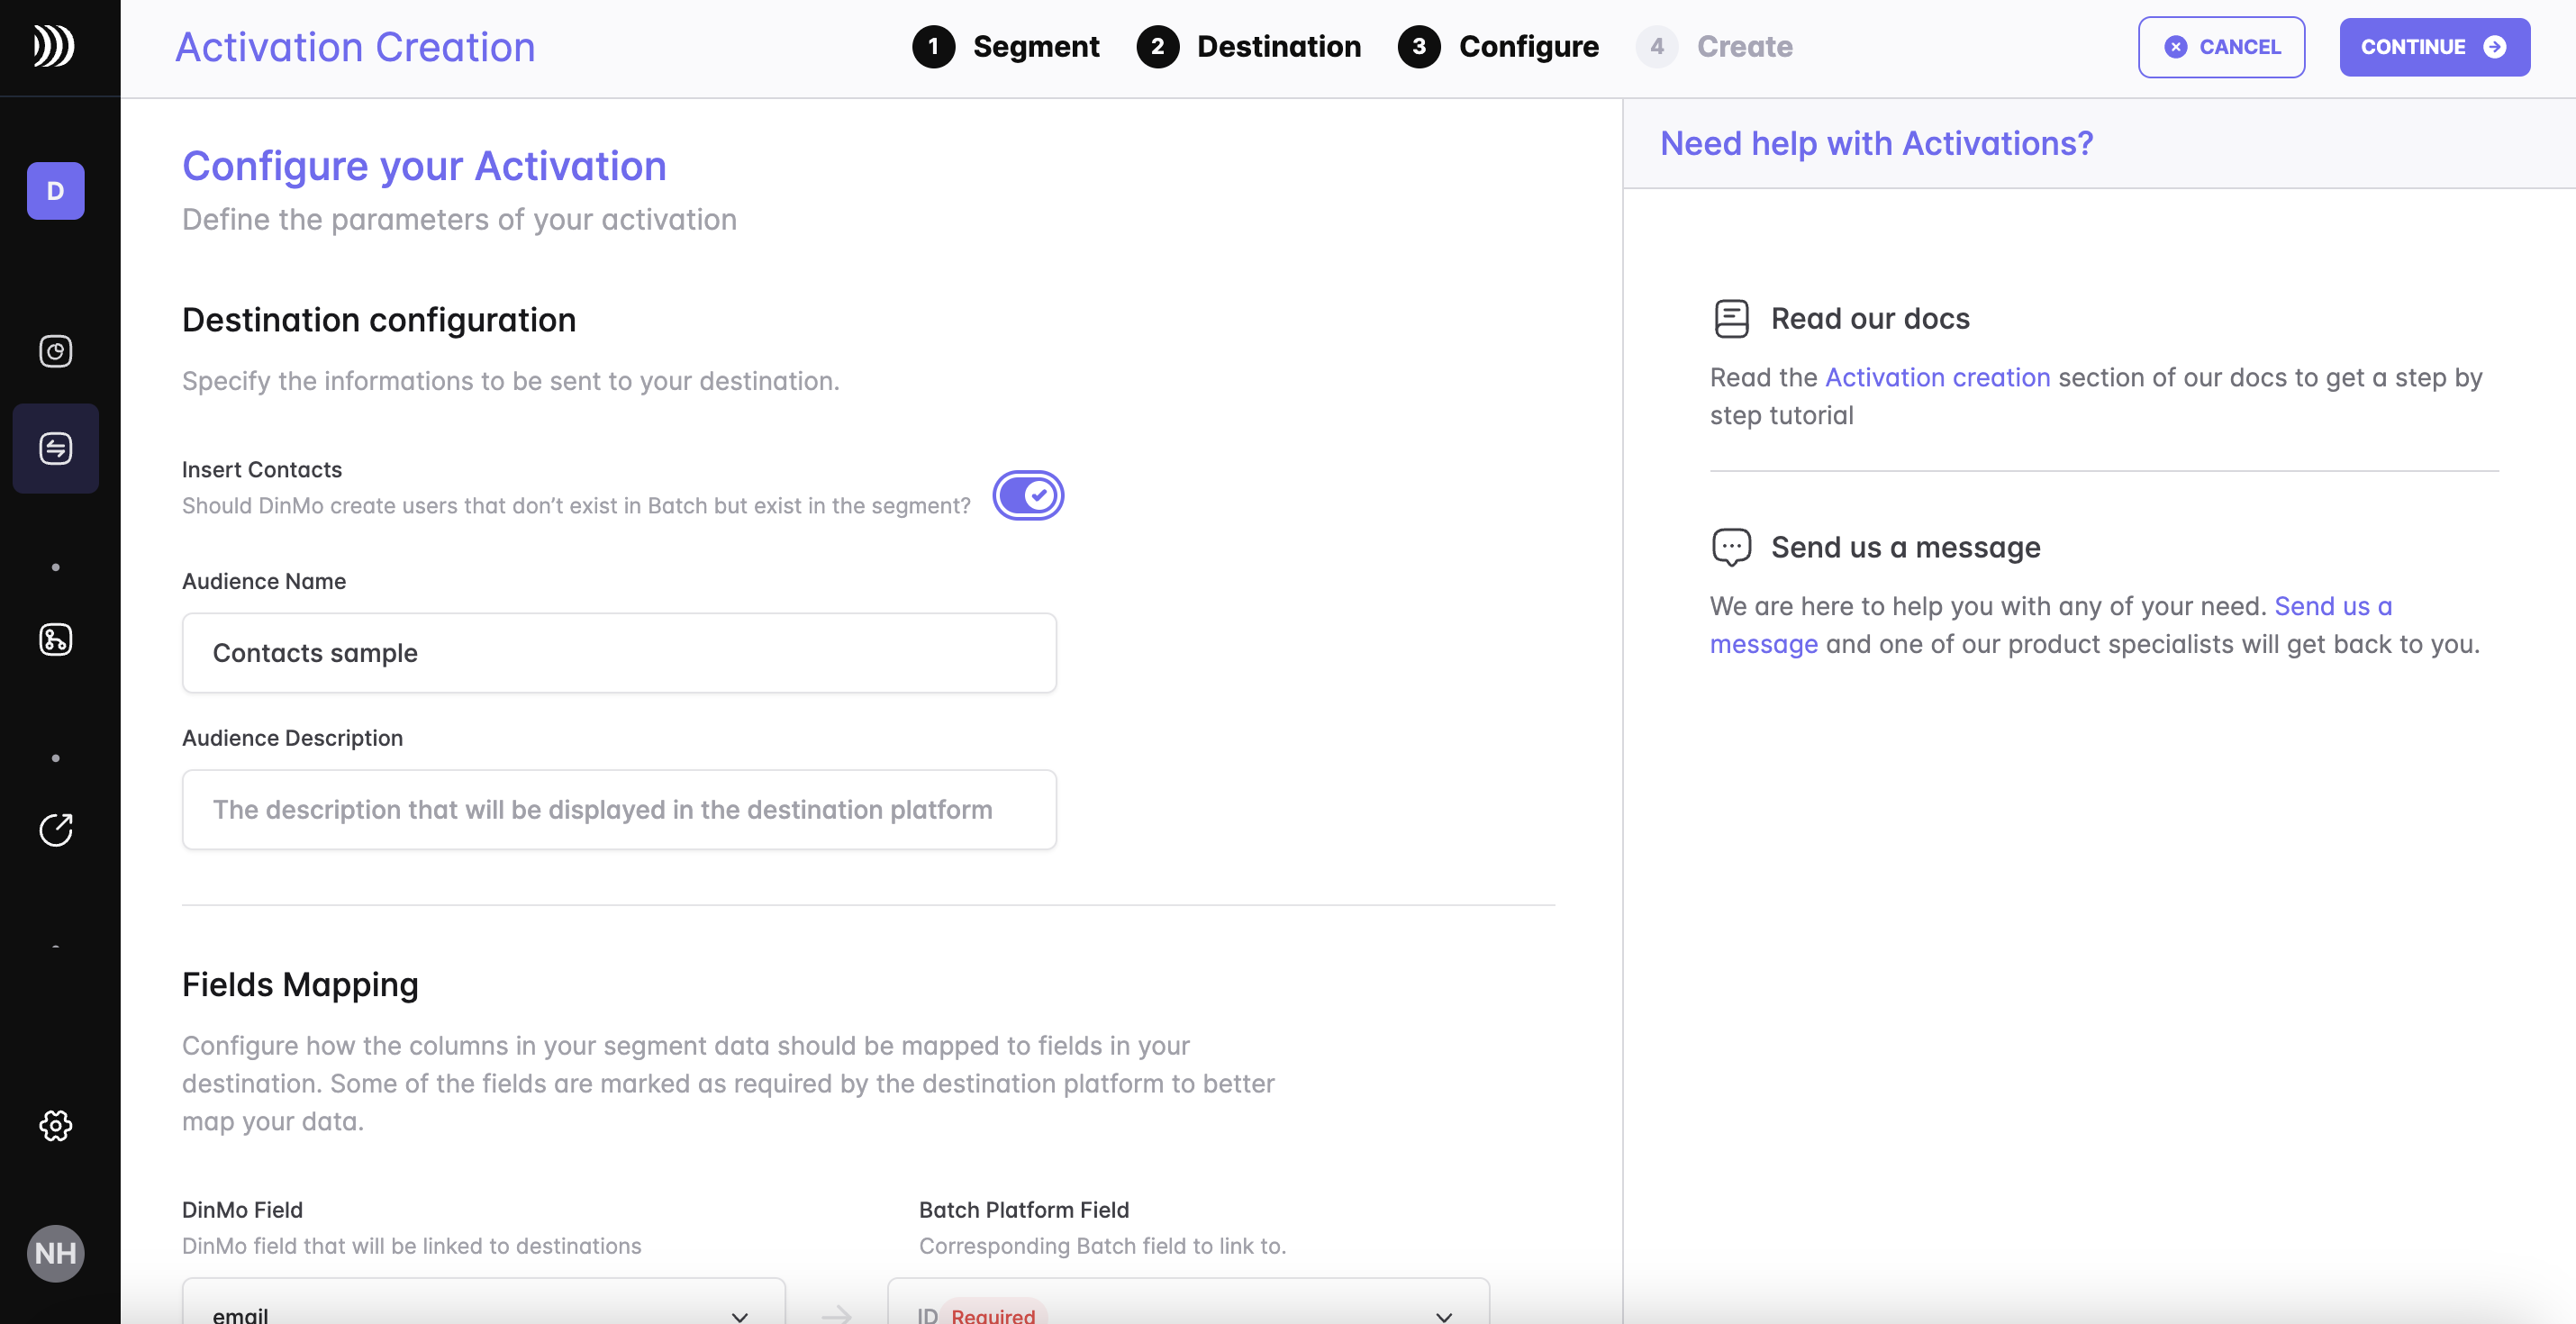
Indicate if you want DinMo to create new contacts in Batch, or if you only wish to update the existing ones.
Indicate which property to send in order to recognize each contacts in Batch. This can typically be the email address.

Under the "Custom Attributes" section, select the properties you wish to export to Batch as custom attributes. If they exist with the same name on Batch, DinMo will update their values so that they are up to date with the data warehouse data. Else, DinMo will create these custom attributes in the destination.
Under the Scheduling options, choose the default time interval for syncing your segment to the destination. A daily sync is sufficient for most use cases.
Click "Continue," and then click "Create" to finish.
Once the activation is created, it should start syncing immediately. Wait a few moments to ensure that the sync is successful.
That's it! You have successfully synced your Snowflake data with Batch in DinMo. If you face any issues, refer to DinMo's documentation or contact their support team for assistance.


